| Back to British Rail Home |
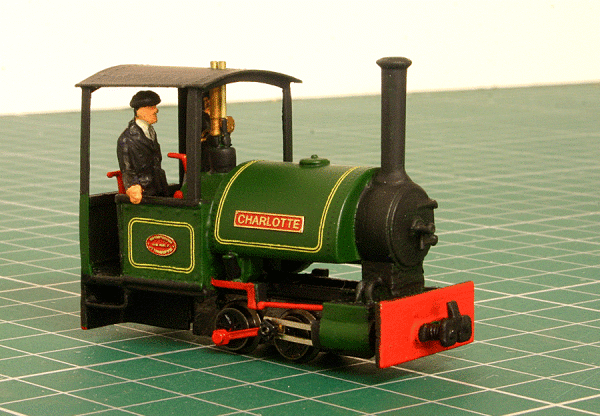
Bagnall 'Sybil' 0-4-0ST W. G. Bagnall of Stafford were well known for a number of narrow gauge industrial type steam engines. One of these is the 'Sybil' type. I thought these looked quite nice and fancied adding a steam engine to the fleet. The body is a 3D printed body designed by Tyneside Models via the Shapeways site. It is designed to fit on the Tsugawa Yokou TU-KOPPEL A chassis available from Plaza Japan. The 'Sybil' type locomotives were built with both open, semi-enclosed and enclosed cabs. The 3D body comes as an open cab version, but I will fit a roof to produce a semi-enclosed type.
Bagnall 'Sybil' 0-4-0ST
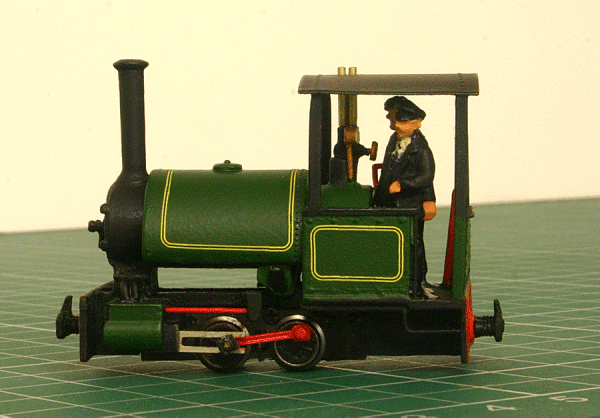
Side on view
A short video showing the Bagnall hauling twelve skips
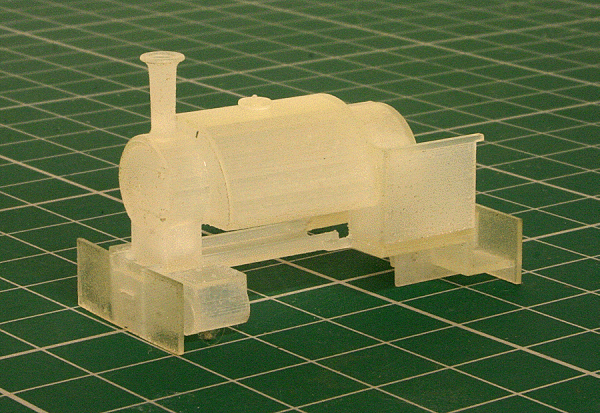
3D Printed Bagnall 'Sybil' body The 3D printed body is printed in Frosted Ultra Detail (FUD), which produces a much better finish than white, strong and flexible (WSF). As FUD is a translucent material, I will have to prime it to see what needs tidying up. I have tried the chassis in the body and some minor fettling was necessary to get it to fit. This involved taking a bit off the cylinders and the area where the vertical motor sits in the body. A bit more fettling will be needed to accommodate he dropper resistor.
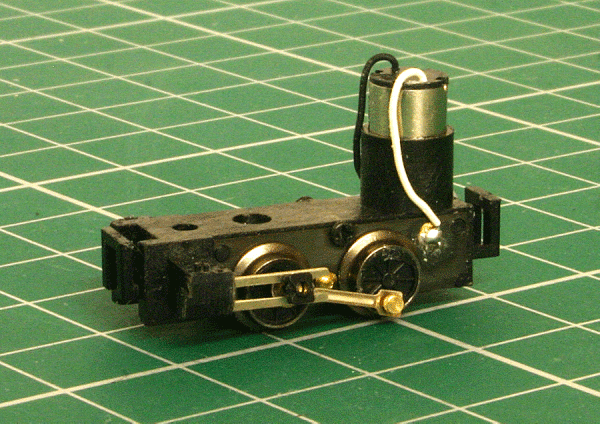
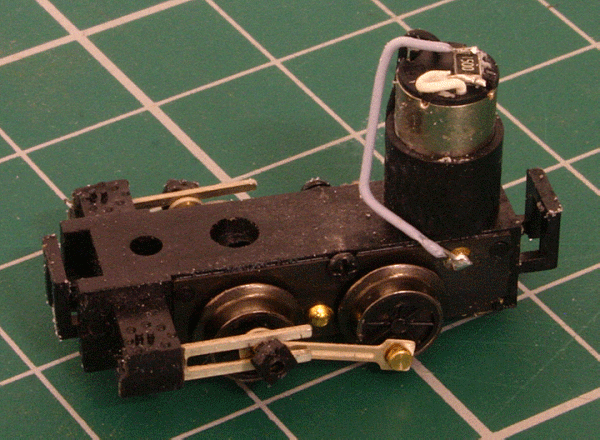
The TGW TU-Koppel A Chassis The chassis arrived and is a minute little thing! A few things stand out with it though. Firstly, it is a 4.5v motor, so a resistor will have to be fitted to reduce the voltage. I have calculated that a value between 100Ω and 150Ω is about right. The second is that despite its size, it is four wheel drive. Thirdly, it only has a coupling rod and no connecting rod to the front wheel set. I don't think this will really be a great problem as once the body is fitted, as I don't think it will be immediately obvious. Finally, it has solid wheels with moulded representations of spokes. So far a bit more fettling has been done to get the chassis to fit snugly. The boiler has been weighted with lead shot to try and increase the weight. Examination of the space available has shown that a surface mount resistor is probably the best bet mounted on top of the motor, insulated of course. A 150Ω 1206 type has been ordered. The tiny 1206 form factor surface mount resistor arrived and has been duly fitted. Now this is quite fiddly due to the size. The image below shows the resistor mounted on top of the motor and the revised wiring. The most immediately noticeable thing is that the chassis is a lot slower and more importantly, the possibility of burning the motor out has been reduced.
With attention back to the body, I noticed the footplate seems to step down either side of the centre. The photographs I have seen of this type of locomotive show a continuous level footplate. As such, I have cut away the 'step' and replaced it with a level footplate made from plasticard. The next job is to add some backhead detail, as it is visible in the very open cab. This will be followed by adding the cab roof and supports, along with the safety valves. The cab roof is made from rolled brass sheet, as this retains its shape better.
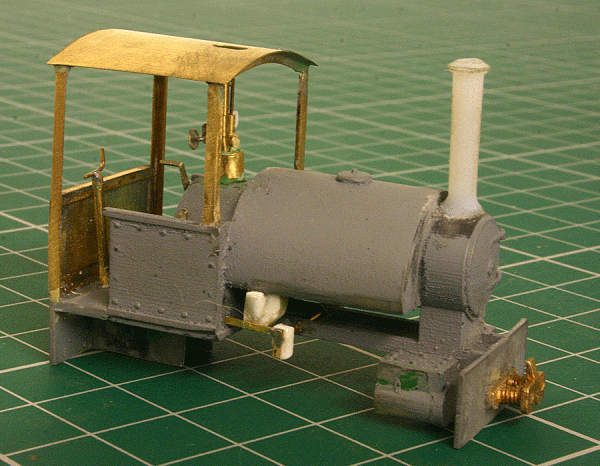
Front view with most of the extra details added
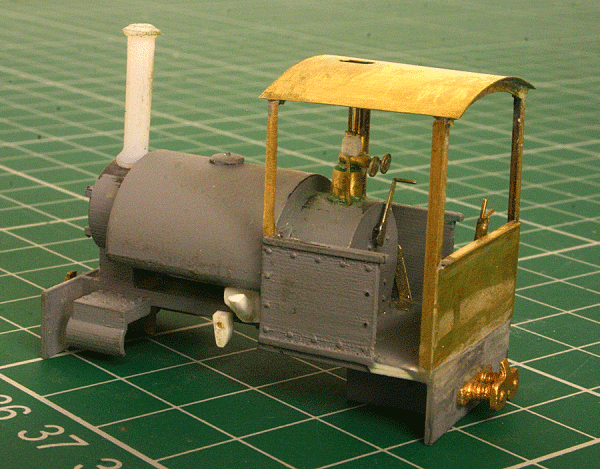
Rear view showing some of the cab detail Looking a little rough in the above pictures, most of the detail has been added. Most noticeable is perhaps the chimney. Not satisfied with the existing one, I felt a taller one was needed as observed in photographs of the prototype. Not being able to find a suitable 'off the shelf' chimney, I commissioned Chris Ward to draw one up and 3D print it for me. Chris was very quick and helpful with this process and the chimney arrived in less than a week from first contacting him! Well worth a try if you need something. The safety valves will be added after painting as I want to retain the 'brass' finish. A smokebox dart is on order and the steam pipes from the cylinders to smokebox need to be added. There are a couple of other fine pipes to fit. When those details have been done, a thorough tidy up will commence followed by another coat of primer. Some additional rivet detail is needed, but I will add this in the form of Archer Rivet Transfers before final painting.
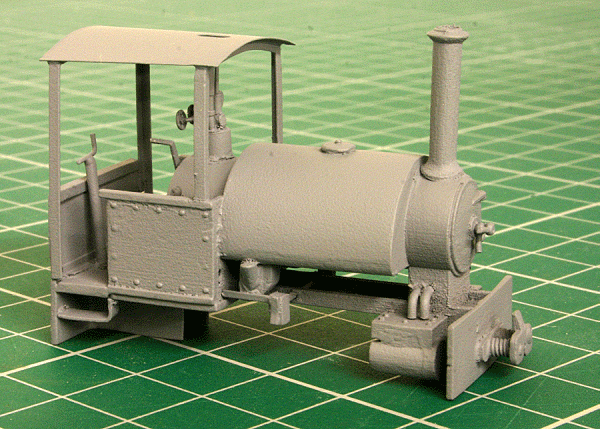
Primed Body So this is the body with all the bits fitted and another prime to see how it looks. This is a good example of priming a model then photographing it to see what still needs to be done. It is a small locomotive and the photograph does show all the problems. Surprising how much there is as it doesn't look this bad in real life! From here, I will now tidy up all the bits that have become obvious in the photograph and give it another light prime and hope I have cured them all.
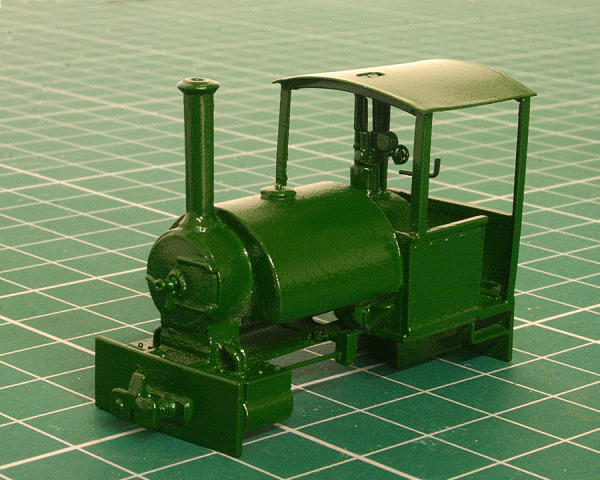
Painted Green Having sorted out some of the little rough bits, I proceeded to paint the body green. In this case I used Halfords Rover Brooklands Green which seemed a nice shade to me. It does look a bit lighter in this photograph.
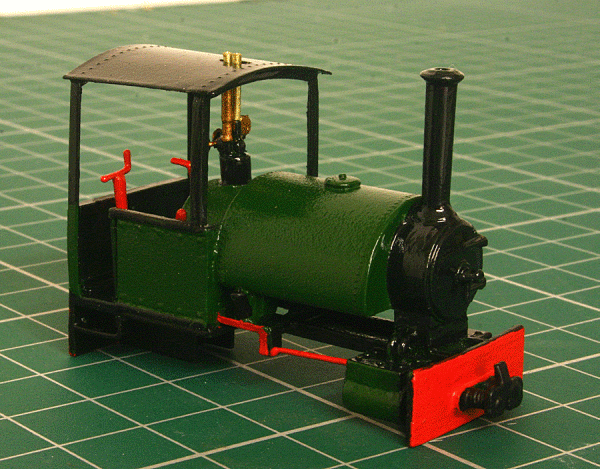
Body Painted Having painted the body green, the Archer rivet detail was added followed by another light coat of green. When dry, the cab roof, smokebox, chimney and frames were sprayed black. Other details were then picked out in their respective colours. Another photograph later and there is still some fine touching up to do. The next job is to apply some lining that will break up the green nicely. I also decided to name the locomotive for two reasons. I felt it would be nice to have a name and I also felt that a red name and worksplate would break up the green a bit. So, I ordered both from Narrow Planet. The name chosen was 'Charlotte'. Bith were applied and I think it makes a great improvement.
|
