Steve Johnson Modelmaker
|
Back to BR Locomotives
|
Armstrong-Whitworth 7059-7068 0-6-0DE
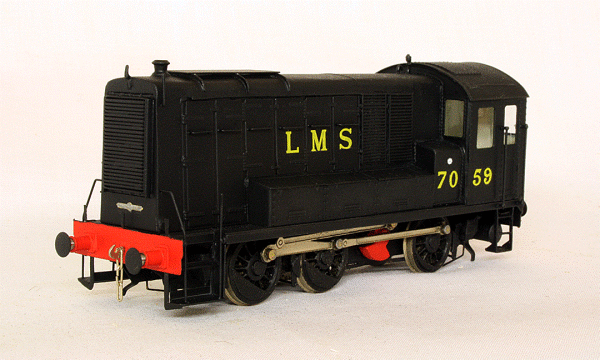
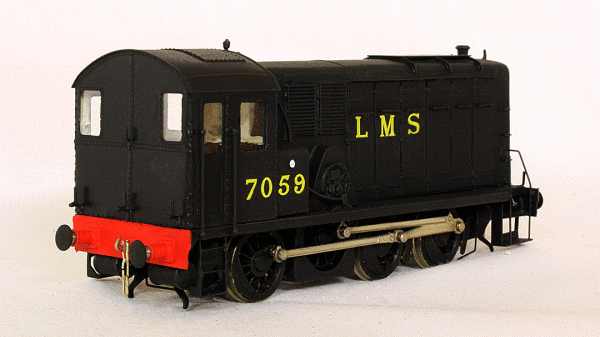
7059 Front View Built by Armstrong-Whitworth for the LMS in 1935, these ten shunters were powered by a Sulzer engine and Crompton-Parkinson transmission through a jackshaft drive. All ten were requisitioned by the War Department during WWII and went to the Egypt, France, The Netherlands and Belgium. Only 7063 returned to Britain on the Longmoor Military Railway as No.47.
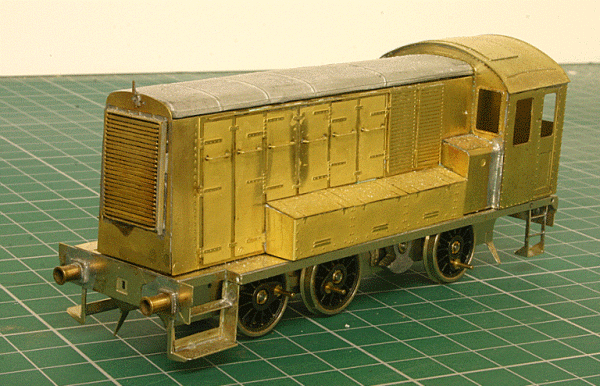
Body and chassis assembled Mercian Models produced a kit of this class and this is what I have attempted to build.The kit is somewhat confusing as it appears the kit has undergone some modifications and replacement parts over the years. Unfortunately these are all supplied in the box and the unclear instructions make it difficult to work out which bits to use. However, I am slowly getting through this kit as the above photograph shows. The kit consists of a brass body unit and various half etched overlays. The body was soldered together whereas most of the overlays were just glued on. The bonnet top is white metal and needs quite a bit of filing to get it to fit. One feature f the body superstructure is an internal bulkhead between the ventilation grilles and engine compartment doors. This makes fitting a motor and gearbox assembly in my usual way a bit tricky, there isn't enough room. The instructions suggest fitting a motor vertically driving the centre axle, but I found difficulty in sourcing suitable components to do this. Instead I used a Mashima 1226 motor driving a Branchlines Multibox gearbox with the motor facing forwards driving the centre axle.
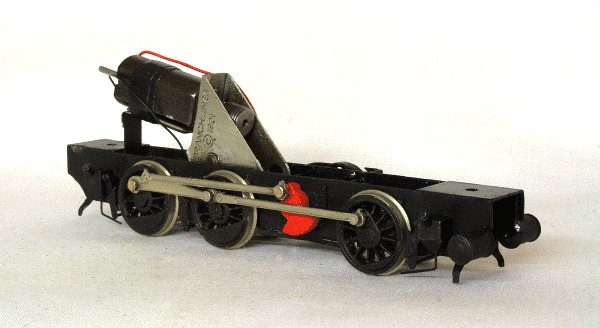
Completed chassis The footplate and chassis are of etched nickel silver and go together fairly easily. Steps and buffer beams are added to the footplate. The kit provides for additional steps to be fitted to the balance weight side of the locomotive. However, when searching through photographs, I couldn't see this step fitted, so left it off. The balance weight is catered for with both a white metal and brass castings. I used the white metal version. The wheels are Romford all insulated types. Buffers are Alan Gibson 4903's. The connecting and coupling rods are interesting inasmuch that they are 'one piece' etched nickel silver units. Once assembled, everything seems to work fine though. Other detail pieces such as a cast brass chimney are supplied and were subsequently fitted. Handrails were made from 0.4mm brass wire. The cab handrails are soldered at the body end, but are left unsoldered at the footplate end. The reason being that there is no access to the cab for painting or glazing once footplate and body are screwed together. The same applies to the front handrail from the steps up to the body.
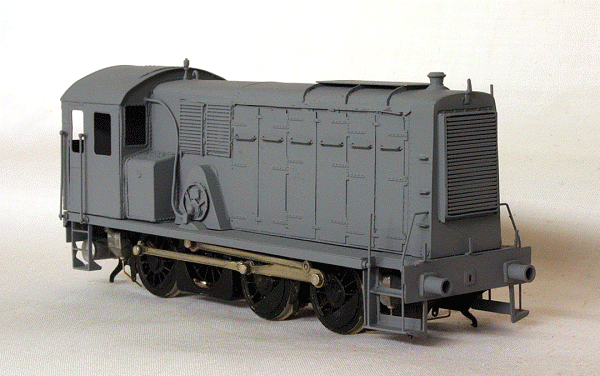
Body in primer awaiting minor corrections and gloss black final coat My version is in as delivered LMS Black livery and after priming with Halfords Grey Primer, received a coat of Halfords Gloss Black. The footplate received the same treatment apart from the beams, which are painted red. Transfers are from Modelmaster and were the subject of a bit of research. The RCTS LMS Diesel Locomotives and Railcars states that the letters and numbers were 'almost certainly' countershaded gold/black. Careful examination of photographs, including those in the book, do not seem to show any countershading. It seems more likely that they were the plain yellow serif style, as used on other diesel shunters of the time. The photographs would seem to support this. As such, I decided to apply the plain yellow serif style numbers and letters. Hopefully I'm right! The Armstrong Whitworth makers plate, supplied in the kit, was painted and applied on the front just below the radiator. A coat of satin varnish finished off the body. The cab interior is painted in a cream shade.
7059 Rear View After a bit of running on analogue dc, the chassis was fitted with a Digitrax DN136PS decoder. Not the best kit I have ever built and took a while to get out of the workshop, but makes up reasonably well and does look a little different. Overall, I am reasonably pleased with the result.
|
